What is Procreate?
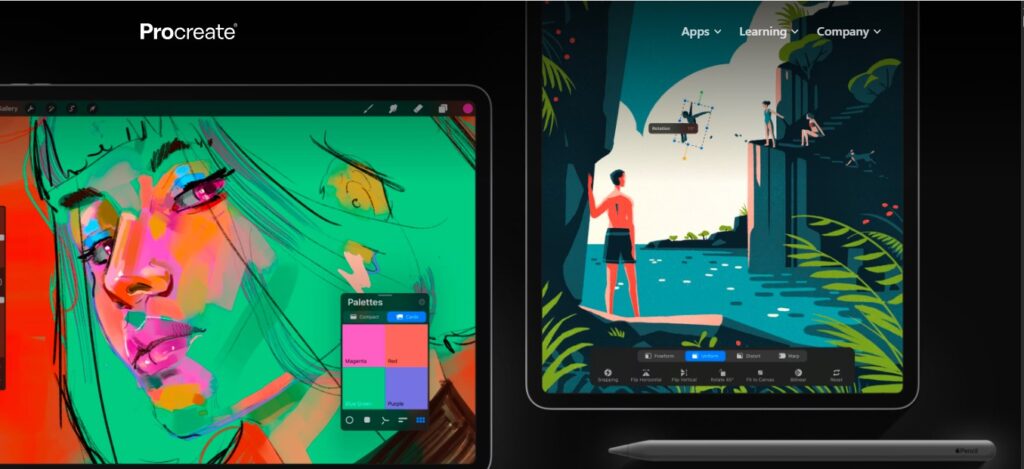
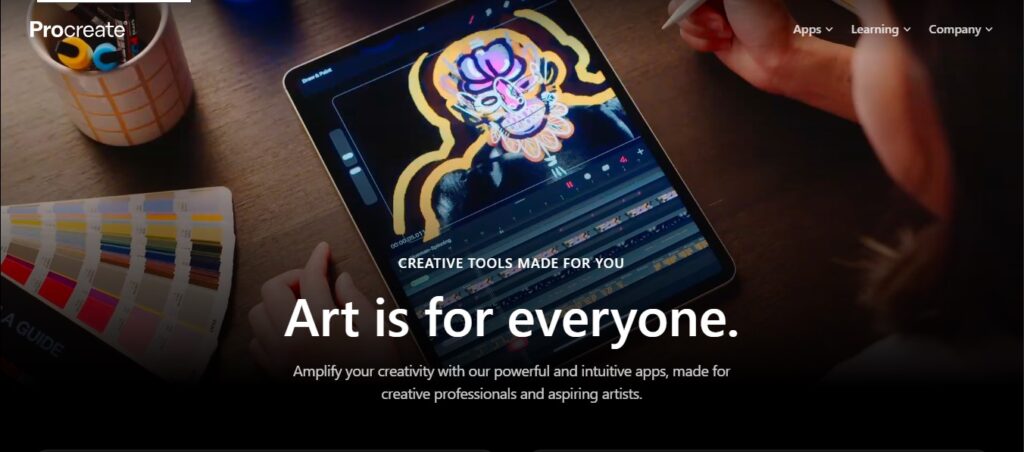
Procreate is an influential digital illustration and painting application developed exclusively for iPads. It provides an extensive suite of professional-grade tools and features, including a comprehensive collection of custom-designed brushes, advanced layering functions, and an intuitive interface that closely replicates traditional drawing and painting techniques. Renowned for its versatility and ease of use, Procreate is widely embraced by both professional artists and enthusiasts, enabling the creation of diverse forms of artwork ranging from sketches and paintings to detailed illustrations and animations.
If you’ve ever dreamed of creating stunning digital art, Procreate on iPad is one of the best tools to get started. With its powerful brushes, intuitive interface, and smooth Apple Pencil support, Procreate is a favorite among digital artists.

In this post on beginner’s guide to drawing with Procreate on iPad, you’ll learn the basics step by step—from setting up your canvas to creating your first masterpiece.
Also Read: Understanding BODMAS
Why Choose Procreate for Digital Drawing?
Procreate stands out among drawing apps because it’s:
- User-friendly – Perfect for beginners and professionals.
- Powerful – Hundreds of brushes, customizable layers, and advanced tools.
- Affordable – A one-time purchase, unlike subscription-based apps.
- Portable – Take your digital studio anywhere with your iPad.
Step 1:
Setting Up Procreate on iPad
Before you start drawing:
Download Procreate from the App Store.
Make sure you have an Apple Pencil for best results.
Open Procreate and tap the “+” icon to create a new canvas.
Pro Tip: For beginners, a 2048 x 2048 px canvas is perfect—it’s high resolution but not too heavy.
Step 2:
Understanding the Procreate Interface
When you first open Procreate, the layout might feel overwhelming. Here are the basics:
Gallery – Where all your artworks are stored.
Brush Library – Choose different brushes (pencil, ink, paint, texture).
Layers Panel – Stack and manage different parts of your artwork.
Color Picker – Select colors quickly with the wheel.
Actions Menu (wrench icon) – Import, share, and adjust settings.
Step 3:
Learning How Brushes Work
Procreate comes with hundreds of brushes—from pencils and pens to watercolor and textures.
Pencil Brushes → Perfect for sketching.
Inking Brushes → Great for line art.
Painting Brushes → For smooth shading and blending.
Texture Brushes → Add effects like fabric, grunge, or patterns.
Pro Tip: You can customize brush size and opacity using the sliders on the left side of the screen.
Step 4:
Using Layers Effectively
Layers are one of Procreate’s most powerful features. Think of them as transparent sheets stacked on top of each other.
Keep your sketch on one layer.
Do your line art on another.
Add coloring and shading on separate layers.
This makes editing easy without ruining other parts of your drawing.
Step 5:
Basic Drawing Workflow in Procreate
Here’s a simple workflow for beginners:
Sketch your idea lightly using a pencil brush.
Create a new layer and draw clean line art over your sketch.
Add colors on another layer underneath the line art.
Use shading brushes for depth.
Add final touches like highlights and textures.
Step 6:
Adding Colors and Effects
Use the Color Drop feature → Drag a color into a shape to fill it.
Experiment with Blend Modes (e.g., Multiply for shadows, Overlay for highlights).
Try Alpha Lock to color only inside a shape without going outside the lines.
Step 7:
Exporting and Sharing Your Artwork
When your artwork is ready:
Tap the Actions Menu (wrench icon).
Select Share.
Choose your format: JPEG, PNG, or even layered PSD.
You can also export time-lapse videos of your artwork, perfect for sharing on Instagram or YouTube.
You Can Also Read About Culture: Inside the Mind of a Cultural Curator
Pro Tips for Beginners
Start with simple drawings before attempting complex artworks.
Explore Procreate tutorials on YouTube for inspiration.
Don’t overload your canvas with too many layers (it can slow down the app).
Save your work often.
Conclusion
Drawing with Procreate on iPad is an exciting journey for beginners. By understanding brushes, layers, and basic tools, you can create digital art with ease.
This beginner’s guide to drawing with Procreate on iPad has shown you the essentials: setting up your canvas, sketching, coloring, and exporting your artwork. With practice, patience, and creativity, your skills will grow quickly. Download Procreate, grab your iPad, and start drawing today!

